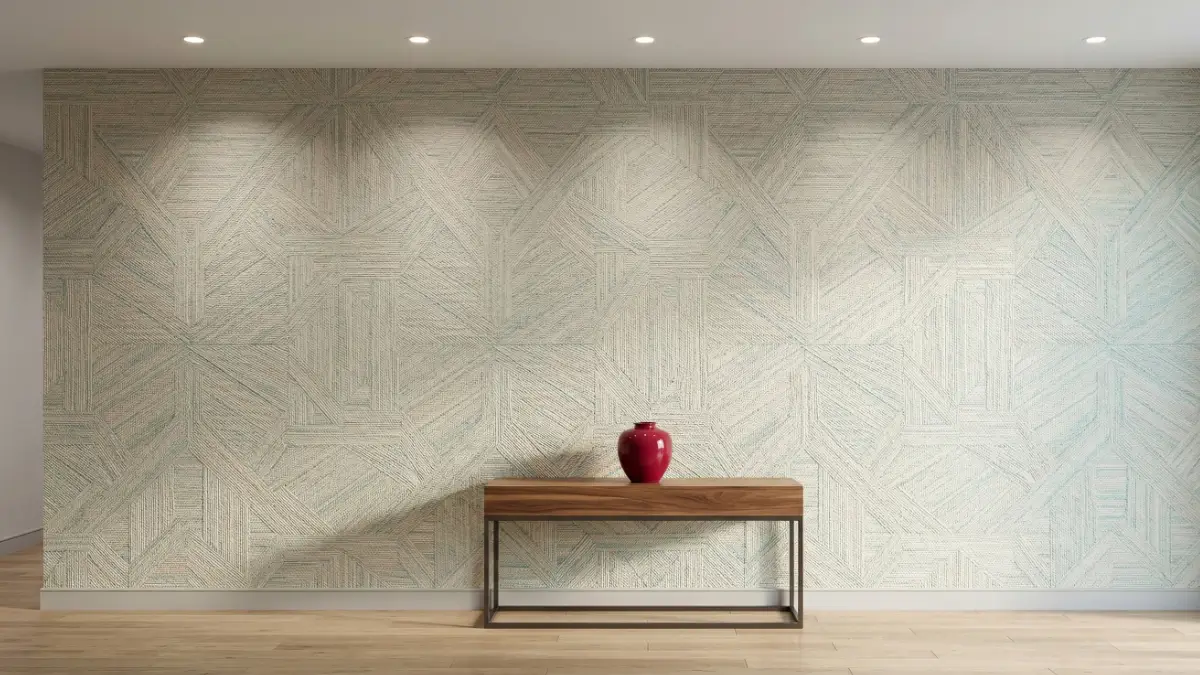
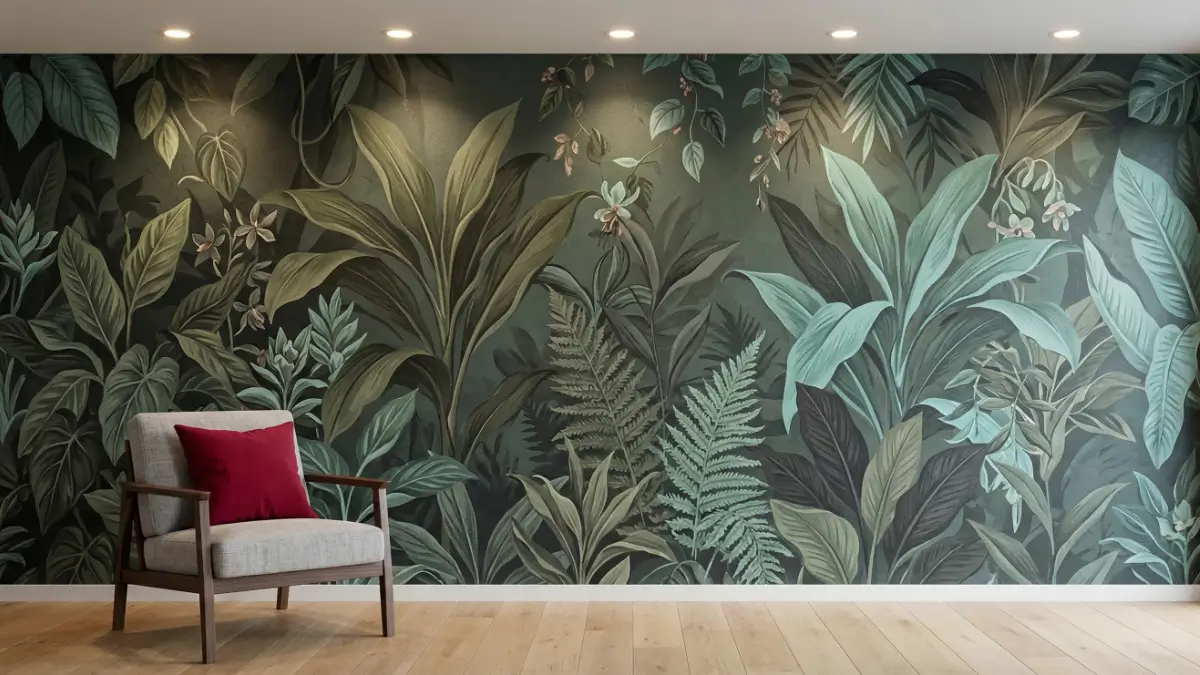
To ensure a flawless wallpaper installation, walls must first be perfectly smooth, skimmed, and painted with an oil-based primer and a coat of zinc-oxide washable paint. From there, professional installers manage complex pattern matching, precise bleed measurements, and climate control to prevent bubbling and seam lifting, guaranteeing a durable, high-end architectural finish.
Navigating the Technical Side of Wall Treatments
You have spent hours selecting the perfect design. You have visualized how the colors will transform your space. But securing the physical wallpaper is only the very first step of the journey. The difference between a breathtaking architectural feature and a peeling, bubbling disaster lies entirely in the technical preparation and professional execution.
When clients invest in premium, custom-printed wallcoverings, they naturally have a lot of questions regarding the logistics. How smooth does the wall actually need to be? What happens if the room isn’t perfectly square? Can it be installed over existing finishes?
When you read about us, you will discover that Unique Impressions brings over 18 years of specialized industry authority to every project. We do not leave the technical details to chance. We have compiled this comprehensive breakdown of essential wallpaper FAQs to guide you through the exact protocols our professional installers use to guarantee a flawless finish.
Phase 1: Critical Wall Preparation
How should I prepare my wall for wallpaper application?
The foundation dictates the final result. Wallpaper cannot hide a crumbling, highly textured, or raw plaster wall. The surface must be perfectly smooth. Wallpaper can only be applied to walls that have been properly skimmed, primed, and painted.
If you are starting from scratch on a raw wall, we strictly recommend using a high-quality oil-based primer followed by one coat of washable PVA paint. If you are utilizing premium wallcoverings from Unique Impressions, it is imperative that you use a paint containing zinc oxide. Most high-end brands include this, but we specifically find that Plascon and Dulux washable paints are ideal for creating the perfect chemical bond with our commercial adhesives.
Do I have to remove my old wallpaper first?
Yes, absolutely. We cannot, under any circumstances, install new wallpaper over an old, existing layer. The moisture from the new adhesive will reactivate the old paste, causing massive bubbling and structural failure. The old wallpaper must be stripped entirely, and the wall properly prepped. If you do not want to tackle this tedious job yourself, simply let our team know during your consultation, and we will quote accordingly to handle the removal as part of our comprehensive interior design solutions.
Phase 2: Measurement, Printing, and Layout
How do I know the measurements of my print are accurate?
Precision is paramount. Before we print any bulk orders, we send you a detailed digital layout for your final approval. It is vital that you verify these measurements to ensure absolute accuracy.
However, you will notice that we intentionally add a 40mm “bleed” to your supplied measurements. Why? Because in the real world of construction, no wall is ever perfectly straight or completely plumb. This 40mm safety margin allows our installers to trim the excess on-site, ensuring edge-to-edge coverage without any gaps. During this digital proofing stage, you must also confirm you are completely satisfied with the visual layout of your design—this is exactly what will be permanently applied to your wall.
How is your wallpaper different from retail wallpaper rolls?
If you have never utilized large-format or custom-printed digital wallpaper before, you must understand the distinction. Standard retail rolls are generally screen-printed. We utilize advanced large-format digital printing (including UV, latex, and dye-sublimated technologies).
This allows us to print massive, non-repeating custom murals. We ensure our digital prints are incredibly crisp and never pixelated. However, because we frequently utilize restored, vintage lithograph prints in our bespoke designs, the aesthetic is inherently different from a modern vector graphic. We always suggest that if we run a physical sample for you, pin it to the wall and stand slightly back to view it as it will be seen in the room.
Phase 3: The Installation Dynamics
How do you actually install the wallpaper?
Our materials do not arrive in standard, narrow rolls like those found in a local fabric shop. We offer two primary formats: standard panels and seamless single-piece murals.
If you order standard panels, we engineer a 20mm overlap onto the edges. During installation, our professionals perform a precision “double-cut” through this overlap to create a flawless butt-join. This guarantees the pattern meets perfectly and seamlessly on the exact same level. If you order our seamless wallpaper, it arrives as one massive, continuous piece, eliminating seams entirely.
Why am I charged for more material than I need on seamless prints?
Our seamless wallpaper media is manufactured on heavy-duty rolls that are precisely 3 meters in width. If your specific wall is less than 2.5 meters in height or width, a portion of that 3-meter roll must be physically cut away and discarded. We have to charge a nominal fee (R100 per square meter) for the unprinted media that is wasted during this highly specialized sizing process.
Phase 4: Navigating Tricky Architectural Features
What about window recesses and doorways?
Recesses pose a specific geometric challenge. If you want the wallpaper folded into a window reveal or doorway recess, we can only tuck it into the top and bottom OR the left and right—not both simultaneously. The physics of a flat sheet of paper do not allow it to fold perfectly into a 3D corner without cutting and severe pattern mismatching.
We strongly recommend one of three solutions: choose only one axis to tuck, accept the slight visual mismatch in the corners, or—the most elegant option—do not tuck the wallpaper at all. Instead, use architectural beading to frame the edges of your recess for a beautifully finished look.
What is beading?
Beading is a protective architectural trim, usually manufactured from aluminum or timber. When your wallpaper ends on an exposed, raw external corner of a wall, we highly suggest placing a beaded edge over it. Not only does this look aesthetically complete, but it also physically protects the edge of your wallpaper from being caught and peeled by people walking past.
On what surfaces can wallpaper NOT be applied?
Adhesive chemistry requires a specific level of porosity and smoothness. We cannot apply wallpaper to face brick, outdoor exterior walls, plastic, metal, melamine, or door frames. Furthermore, standard wallpaper cannot be applied to glass. If you need to treat glass partitions or windows, you must utilize our specialized vinyl window films, which are engineered specifically for those smooth, non-porous surfaces.
Phase 5: Post-Installation Troubleshooting
Help! There are bubbles under my wallpaper.
Do not panic. Seeing minor bubbles immediately after a wet installation is incredibly common and entirely normal. As the heavy-duty paste cures and the paper breathes, the vast majority of these bubbles will naturally flatten out. If they have not completely disappeared after 72 hours, simply give us a call, and our technicians will return to easily resolve the issue.
The seams and edges of my wallpaper are lifting!
Lifting on seams can occasionally happen shortly after our teams leave, particularly in cold weather or fluctuating climates. The most critical instruction we give clients is to turn off all air conditioners and heating units for a strict 48 hours after installation. Forcing the room to heat or cool artificially causes the adhesive to dry unevenly, shocking the paper and causing the edges to curl. If lifting does occur, call us immediately, and we will secure it.
Execute Your Vision with Confidence
Understanding the technical requirements of custom wallcoverings ensures that your investment looks flawless for decades. Whether we are executing a massive corporate branding and fabrication rollout or installing a delicate mural in your master bedroom, Unique Impressions handles the complexities so you don’t have to.
Ready to start your project?
Want to see the perfection of our installations in the real world? Browse our extensive portfolio of past projects, or watch our professional teams in action on Instagram, TikTok, and YouTube.
Quick Reference: Wallpaper FAQs
1. How should I prepare my wall before installing wallpaper?
Your wall must be perfectly smooth. It requires a proper skim coat, an application of an oil-based primer, and a final coat of high-quality washable PVA paint (preferably containing zinc oxide, such as Plascon or Dulux) to ensure the adhesive bonds correctly.
2. Why are there bubbles under my newly installed wallpaper?
Bubbles are a very normal part of the wet-installation process as the heavy adhesive cures beneath the substrate. The vast majority of these bubbles will naturally flatten out within 72 hours. If they persist after 3 days, a professional can easily roll them out.
3. Can I install new wallpaper over my old, existing wallpaper?
No. Installing new wallpaper over an old layer will cause the moisture from the new adhesive to reactivate the old paste beneath it, leading to massive structural failure, peeling, and severe bubbling. All old wallpaper must be completely stripped first.
4. What surfaces can wallpaper NOT be applied to?
Standard wallpaper and mural adhesives will not bond to porous or highly uneven surfaces. It cannot be applied to face brick, outdoor exterior walls, plastic, metal, melamine, door frames, or glass panels.
5. What is the difference between standard panels and seamless wallpaper?
Standard panels are printed in vertical strips with a 20mm overlap, which our installers precision-cut on the wall to create a flawless seam. Seamless wallpaper is printed on a massive, 3-meter wide continuous roll, allowing us to cover an entire wall with zero visible joins.
239 Views